 Then, using the material editor within my 3D Studio Max file, I selected the diffuse channel, and chose bitmap as my selection. I then selected my image so that it appeared within the material editor pane. Dragging and dropping this image onto the object showed the material on it. However, I decided that the effect was not wooden enough, so I decided to change some of the properties.
First, I changed the bump map within the material editor, so that the image appeared with more texture to it. I did this by dragging and dropping the Map file down to the bump section within the Maps parameter. This, as expected, made the texture look more as if it was actually a wooden object.

(Using the bump map editor)
One final touch that I did to make this look even more realistic was to add a 'Strauss' effect within the 'shader basic parameters'. I increased the glossiness up to 87 originally, but then moved this down to 50 to give a duller effect on the wood. I was then happy with the results and the effects shown on the object, and could repeat this process for the other pieces of wood.

(Using the Strauss option)
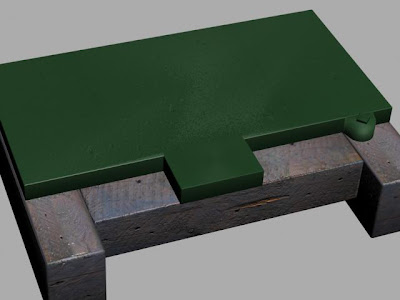
So that all of the pieces of wood did not have identical patterns, I altered the wood texture image slightly in photoshop and saved it as a different file name. The main alteration, among others, was to remove the wood chip on the front face. I then used this new image to map to the various objects in 3D Studio Max, using exactly the same technique as before when doing the front wooden block. The image below shows the final result.

(Wooden blocks rendered)
The completion of the wood material then spurred me on to add a material on to the metallic base of the frame. I completed this much in the same way as I did for the wood, except by using an anistropic shader instead. The source image was a grey paint texture that I found from the Internet. I then imported this into photoshop, and placed a fill colour behind. I then made this partially transparent so that the texture came through. By using the 'bump map' option in 3D Studio Max, the texture came through nicely as expected.
(The final rendered image of the materials)

No comments:
Post a Comment